Anchored, Shaded and Standing: The Steps Nobody Photographs
There are three steps in furnishing a house that nobody photographs. Fixing a tall case to the wall. Anchoring a canopy or an umbrella base so the wind cannot take it. And leaving ten feet between a fire and anything that can burn. None of them appears in a catalogue picture, none of them takes long, and between them they account for most of what can genuinely go wrong with the furniture on this site.
So here is how to do each one properly, and what the published guidance actually says rather than what the carton implies.
Indoors: what an anchor is for
The consumer safety commission launched a campaign called Anchor It! in 2015 and marked its tenth year in 2025, reporting that tip-over injuries and deaths in the United States had fallen by nearly half over that period. That number is worth sitting with, because it is the difference a bracket and ten minutes make, repeated across millions of households.
The mechanism is simple and it is the reason the hazard is specific to children. A chest of drawers is stable while the drawers are shut, because its centre of mass sits low and inside the footprint. Open the top drawer and the centre of mass moves forward and up. Put weight in the open drawer, or a child hanging on it, and it moves outside the footprint. At that point the piece rotates about its front edge, and nothing in the design can stop it. It is not a quality failure; a heavier, better-made dresser tips exactly the same way and does more damage when it lands.
An anchor removes the rotation. One strap or bracket at the top, into the wall, and the piece cannot pivot forward no matter what is hanging off the drawer. That is the whole engineering content of the thing.
Finding something to screw into
The bracket is only as good as what it goes into, and this is where most of the ten minutes goes.
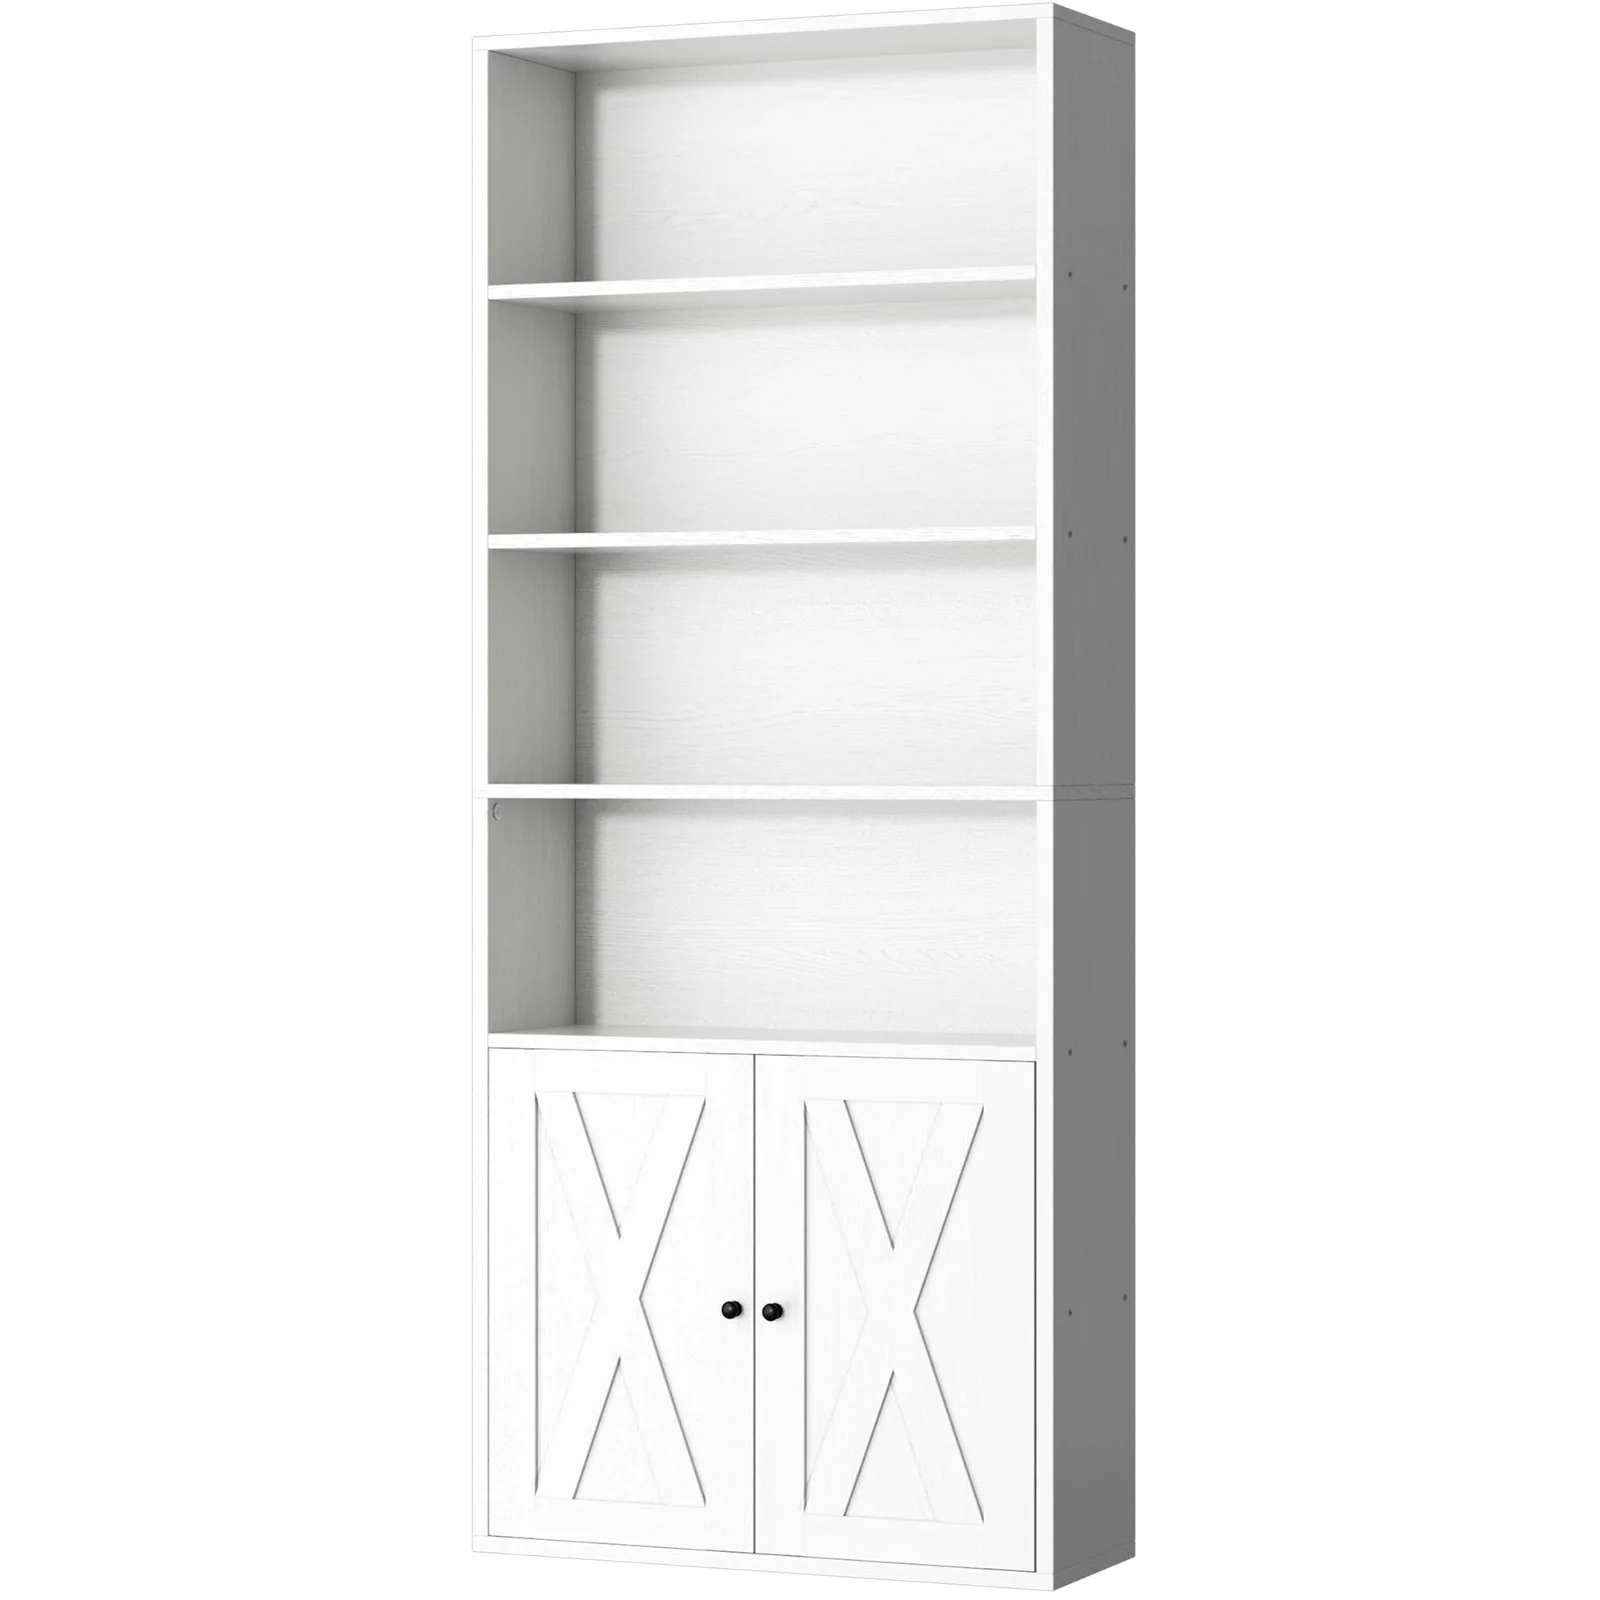
A stud is what you want. In a timber-framed house the studs are usually sixteen inches apart, occasionally twenty-four, and a magnetic or electronic stud finder will locate one in about thirty seconds. Mark two, because it lets you choose which one lines up better with the back panel of the case. Where that case actually goes is a separate question, and it is answered in the measuring notes.
If there is no stud where you need one, the answer depends on the wall. Into plasterboard, use a toggle or a butterfly anchor rated for the load rather than a plastic expansion plug, which is designed for hanging a picture and will pull straight through. Into masonry or brick, drill and use a proper wall plug and screw; this is the strongest of the three options and the one that needs a hammer drill. Into a hollow stud wall with a metal frame, use a toggle designed for metal studs and do not improvise.
The other end matters too. Fix the bracket to structural panel on the furniture, which means the top rail or a side upright, not the thin backing sheet. The back panel of a flat-pack case is there to keep the frame square, and it is three to five millimetres thick. A screw into it holds nothing.
The order of the job
Anchoring goes at a specific point in the build and the order is not arbitrary.
- Assemble the case flat, on the cardboard the carton came in, and square it with the diagonals before the back goes on.
- Stand it up in the room it will live in, with the base against the wall it will stand at.
- Level it on that floor, using the adjustable feet if it has them. A case levelled on a carton and then moved onto a floor is not levelled.
- Fix the bracket: into structural panel on one end, into stud or a rated anchor on the other.
- Only now put anything on a shelf, and load from the bottom up with the heaviest things low.
The reason levelling comes before anchoring is that a bracket fitted to a case that is later shimmed will be under tension, and a bracket under tension is a bracket that has already used up some of what it was there to give.
The reason loading comes last is the half-built stage. A case lying flat is safe. A case standing upright, unanchored and unloaded, is at the least stable moment of its whole life, because it is light. An empty case tips more easily than a full one, not less. If a build has to pause, pause it with the piece flat rather than standing.
What the dresser rule actually covers
There is a federal rule here and it is worth knowing its edges, because the marketing language around it is loose.
The rule for clothing storage units is codified at 16 CFR part 1261, it applies to units manufactured after September 2023, and it defines the category precisely: free-standing, at least twenty-seven inches tall, at least thirty pounds, with at least 3.2 cubic feet of enclosed storage. Inside that definition, units have to pass stability testing that simulates a child climbing.
Outside that definition the rule does not apply, and the commission says so explicitly: bookcases and office furniture fall outside the clothing storage unit scope. That does not mean a bookcase is safe standing unanchored. It means the tested standard was written for the category where the hazard data was worst, and the anchoring advice applies to both regardless. We would rather say that plainly than borrow the language of one category to dress up another.
Outdoors: the same problem, different force
Outside there is no wall to fix to and the force is not a child leaning, it is wind. The arithmetic is unforgiving: load rises with the square of wind speed and directly with area. Twice the wind is four times the force, and area is exactly what shade structures are made of.
An umbrella is a large surface on a thin pole, which is a working definition of a sail. What actually happens in a gust is rarely a gentle topple. The canopy inverts, the ribs fail, and a cantilever with its mass out on an arm can walk sideways across a patio while it does it.
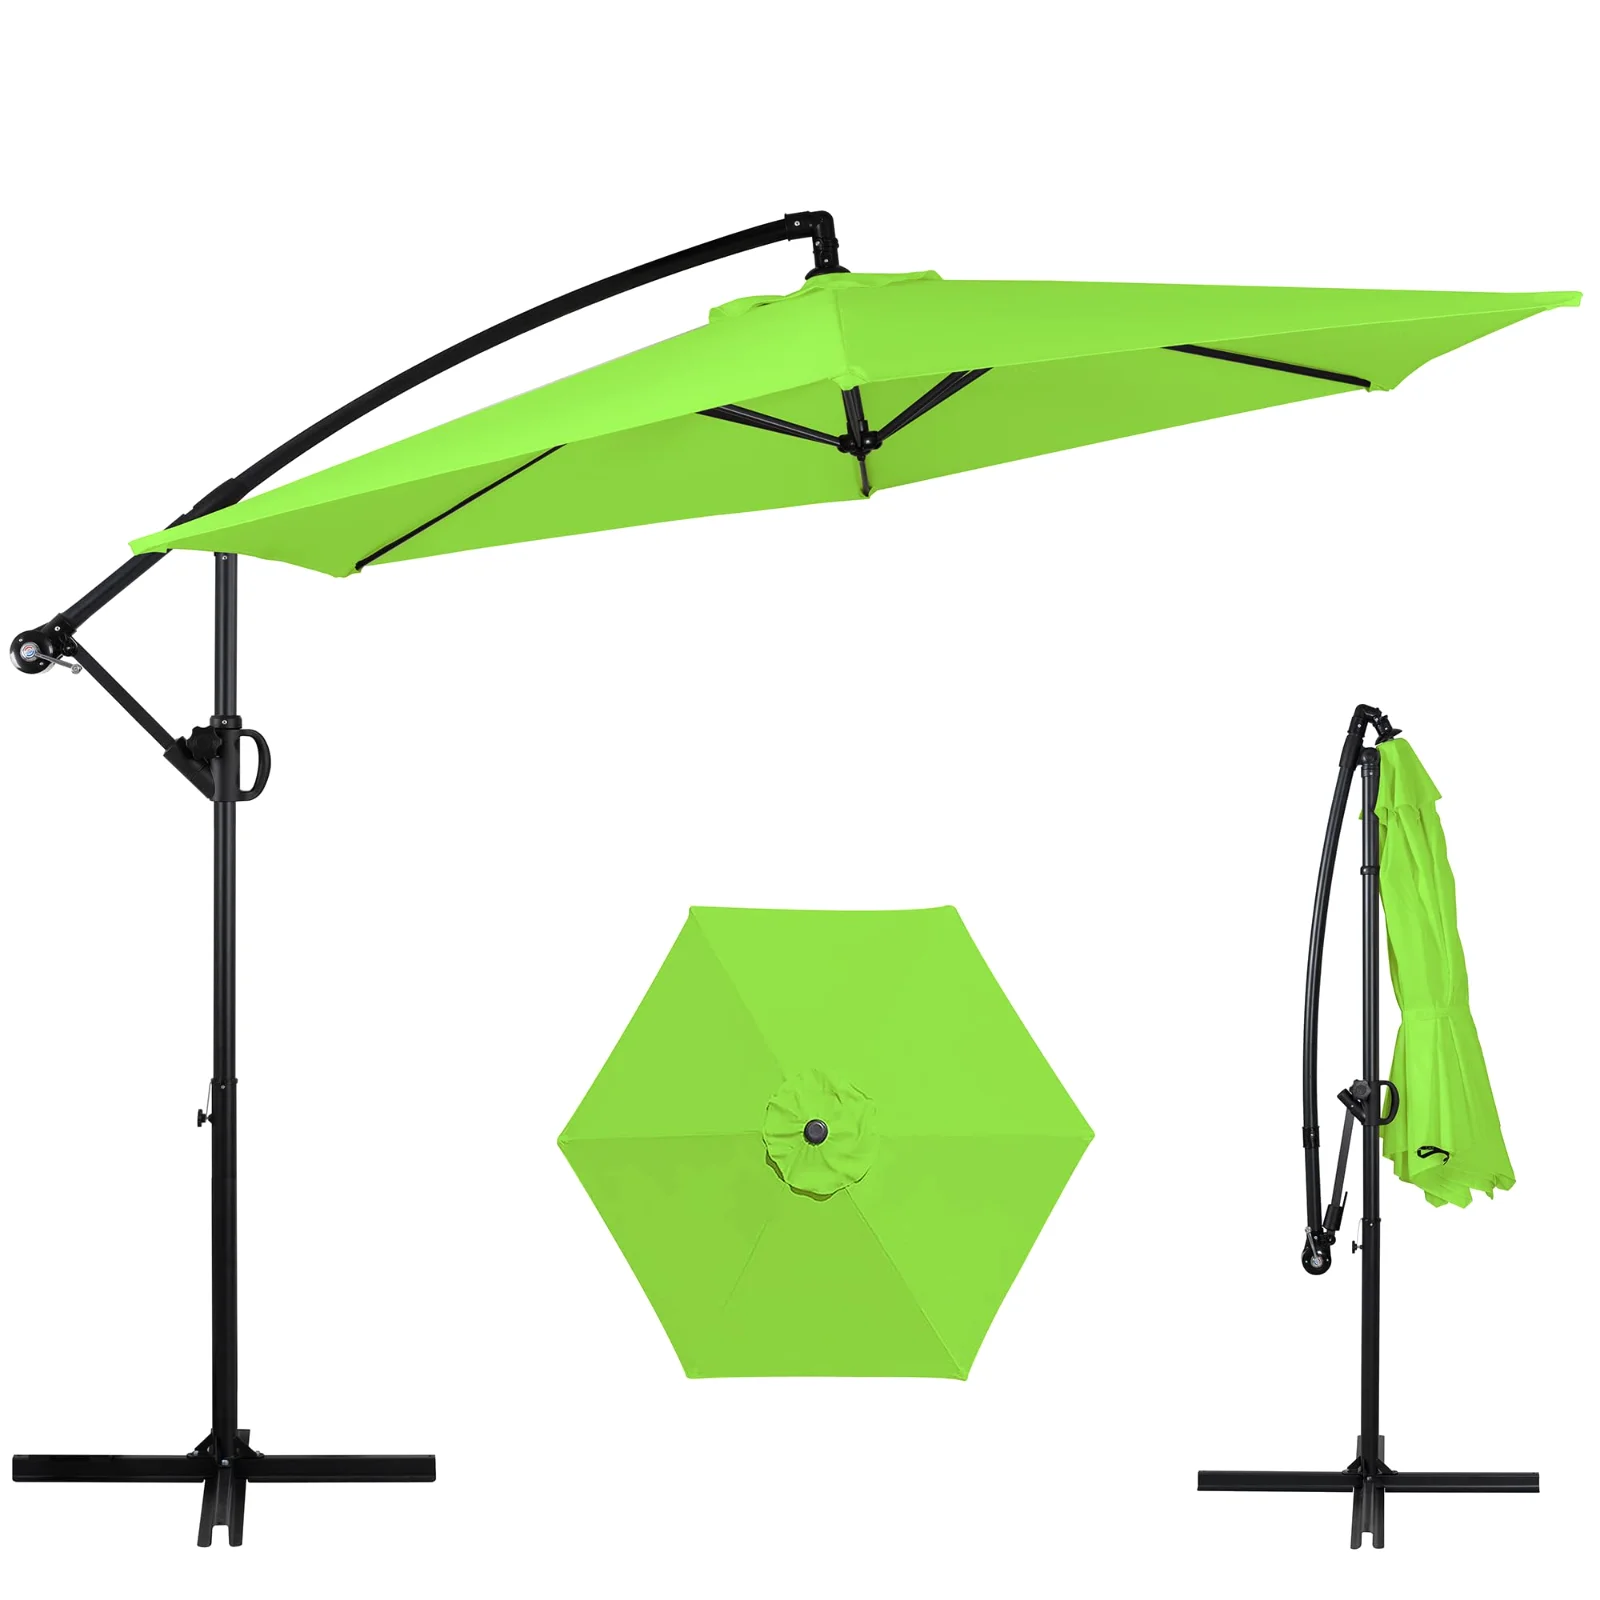
The base is therefore part of the umbrella rather than an accessory to it, and for a cantilever it is doing two jobs: carrying weight and resisting leverage. The arm holds the canopy several feet to one side of the post, so wind on the canopy tries to rotate the whole assembly about the base edge. That is why cantilever bases are so much heavier than centre-pole bases of the same canopy size, and why filling one properly matters.
The habit that prevents nearly all of it costs nothing: close the umbrella when you go inside. Not when weather is forecast, when you go inside. The gust that takes an umbrella is almost never the one anybody forecast.
Anchoring a canopy or a carport
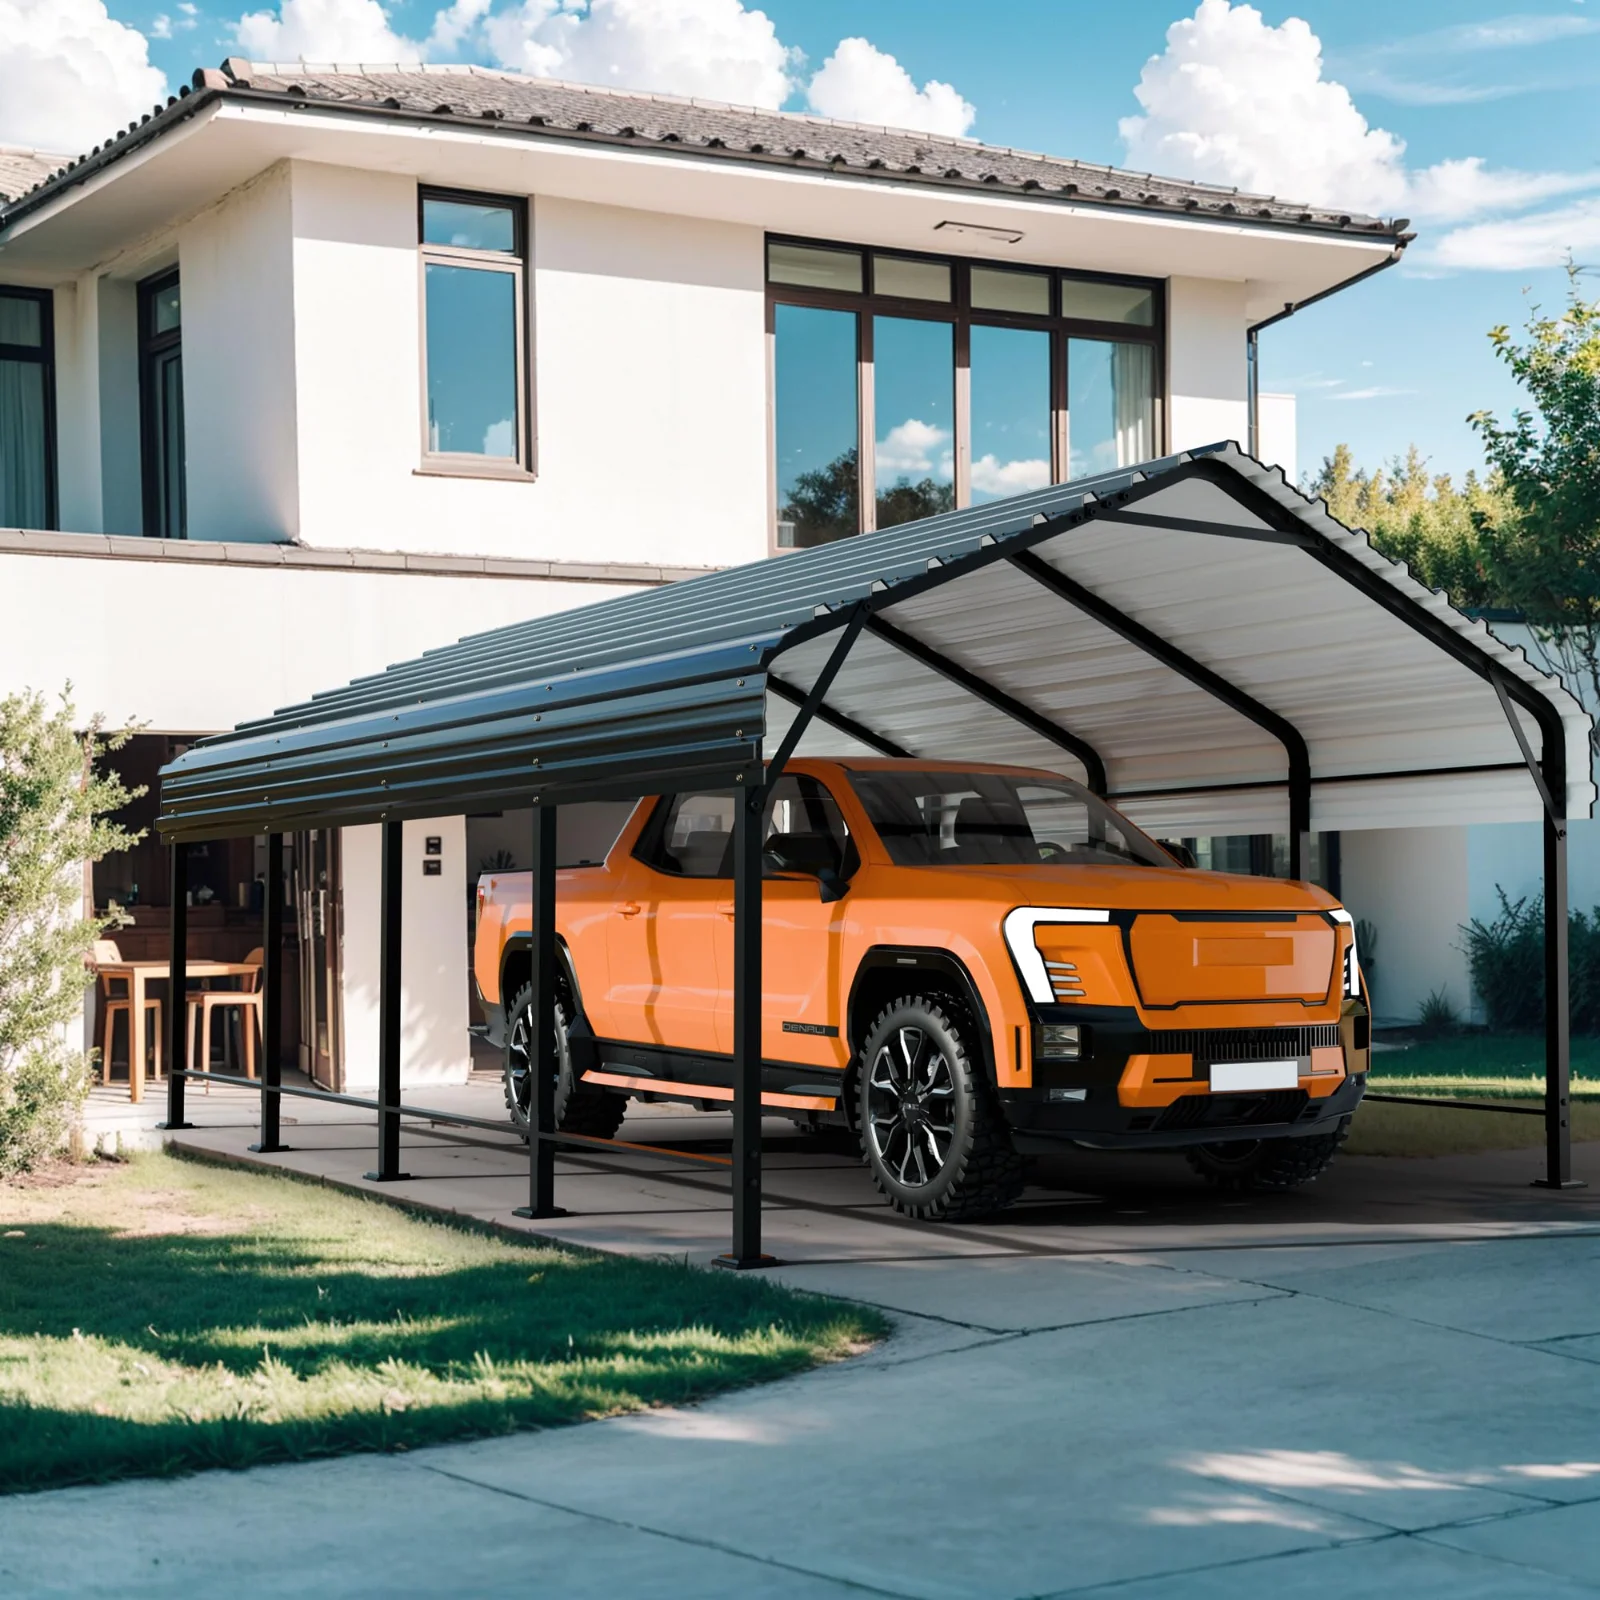
A twelve by twenty foot carport roof presents an enormous area, and an unanchored one is a wing with a car parked under it. The carports and canopies ship with ground anchors for that reason, and fitting them is part of the installation rather than an optional extra.
What the anchor is depends on what it goes into. On a concrete slab, a wedge or sleeve anchor drilled into the concrete is the strongest option and the one the frame legs are drilled for. On soil, auger anchors that screw in and resist pull-out are the usual answer, and their holding power depends entirely on ground condition: the same anchor that is solid in clay is much less so in dry sand. On gravel over hardcore, dig down to something solid rather than trusting the surface.
Do all four legs. An anchor on three legs is not seventy-five per cent of a job, because the unanchored corner is where the structure will start to lift, and once one corner lifts the load on the others goes up sharply.
| Where | The good option | The workable option | The one that fails |
|---|---|---|---|
| Timber-framed wall | A screw into a stud | A rated toggle in plasterboard | A plastic plug in plasterboard |
| Masonry wall | Drill, wall plug and screw | A frame fixing | Anything not rated for masonry |
| Concrete slab, outdoors | A wedge anchor into the slab | An expansion anchor | Ballast alone in a windy spot |
| Soil, outdoors | Auger anchors, all four legs | Longer augers in soft ground | Three legs anchored and one left |
The tools, and why the stud finder is the one that matters
The whole indoor job needs four things and one of them does most of the work.
A drill, a screwdriver or a bit for the drill, a spirit level and a stud finder. Of those, the stud finder is the one that changes the outcome, because everything downstream depends on whether the screw goes into framing or into plasterboard. A cheap magnetic finder locates the screws or nails holding the board to the stud, which tells you where the stud is by inference and works perfectly well. An electronic one reads density and marks the edges of the stud, which is faster and slightly more forgiving.
Knocking on the wall is the method everyone falls back on and the method most likely to put a screw in the wrong place. The sound difference between board over a cavity and board over a stud is real, but it is subtle enough that it is easy to convince yourself you hear it where you want the stud to be.
One more habit worth having: once you have found a stud, mark it with a pencil and then find the next one before you drill anything. Two marks sixteen inches apart confirm the first was a stud and not a pipe, a cable run or a noggin, and confirming that before you drill is considerably cheaper than confirming it afterwards.
Doors, drawers and the adjustment nobody makes
A related step, less critical but far more visible, gets skipped almost universally: cabinet doors and drawer fronts are adjustable, and almost nobody adjusts them.
Concealed hinges normally carry two or three screws that move the door in three axes: sideways, in and out, and up and down. Drawer runners often allow a small vertical shift as well. This is the difference between a gap that looks like a mistake and a gap that looks deliberate, and it takes about five minutes per door with a screwdriver.
The order matters. Do the adjustment after the piece is standing in its final position and levelled, not while it is on its back on the floor. A door hangs differently under gravity than it does lying down, and adjusting it flat means doing the job twice.
If a door will not sit true no matter what the hinge does, the case is out of square and the fault is upstream. Loosen the back panel, square the frame with the diagonals again, and re-tighten. Ten minutes there beats an hour of hinge fiddling, and it is the same fault that will make a drawer bind in six months.
Fire: ten feet, and out before you go in
The third step is the simplest to state and the one people most often get wrong by a few feet.
The federal fire agency asks for chimneys, outdoor fireplaces and fire pits to be used at least ten feet away from the house or anything that can burn. Ten feet is further than it sounds on a small patio, and it is the figure that decides where a fire pit can stand before any question of style comes into it. The same guidance asks that children be watched closely while the pit is in use, that a metal screen go over a wood fire so sparks stay in it, and that the fire be put out before you leave the backyard.
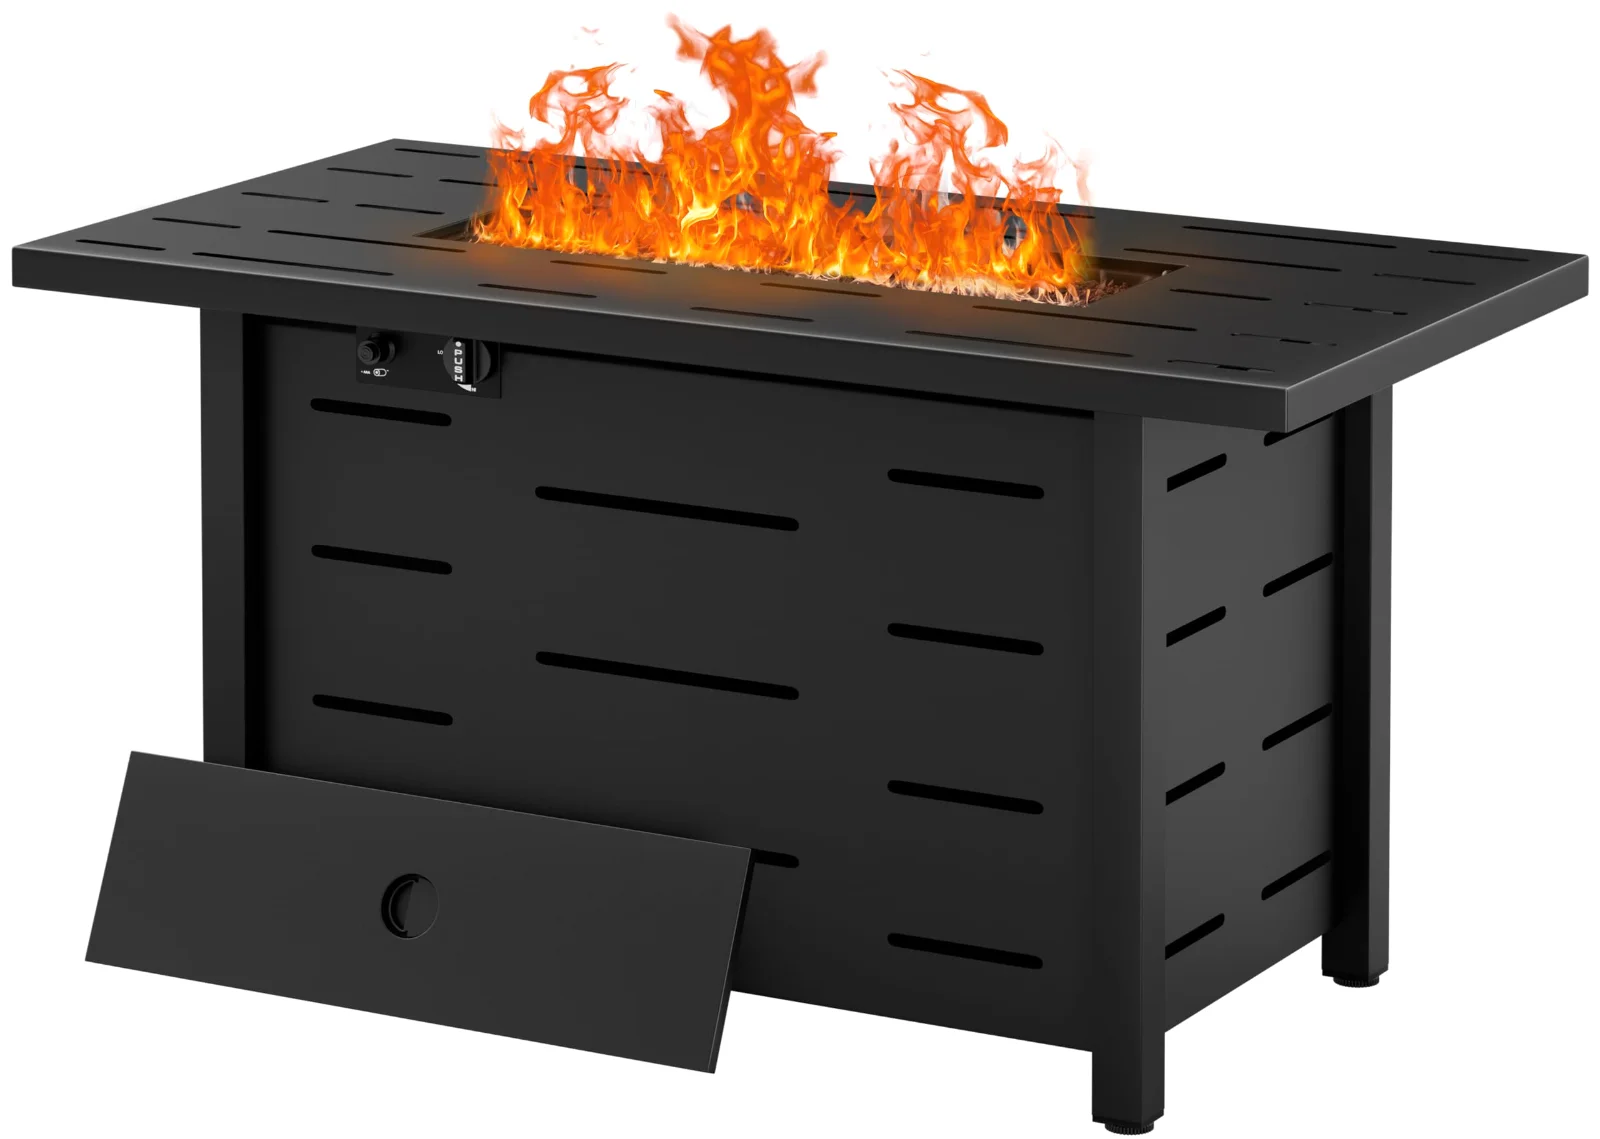
For a propane table there is no ember problem, which removes the screen requirement, but the clearance and the supervision do not change. The fire pits all carry the same note. The lid that turns the table back into a table is not a fire cover; it goes on when the flame is out and the surface has cooled.
Overhead matters as much as sideways. Ten feet on the ground with a branch or a canopy directly above is not ten feet of clearance. Look up before you decide where it stands, which is the one part of this that a photograph never shows you.
Moving house without undoing the work
An anchor is not permanent and it should not be treated as one, because the most common reason a piece ends up unanchored for months is that somebody moved it and never got round to refitting.
The trick is to take the bracket off the wall and leave it on the furniture. Unscrew the wall end, leave the furniture end where it is, and the piece arrives in the new room already half-fitted with the fasteners still in it. Then the job at the other end is one stud, one screw, five minutes, and it happens on moving day rather than in six months.
The same applies to a piece that changes wall within a room. If you are rearranging in spring, do the wall end last and refit it before anything goes back on the shelves, not after.
Outdoors the equivalent is winter storage. Ground anchors come out of soil easily enough and go back into the same holes, which is worth knowing before you decide to move a canopy rather than take it down. A hole that has been used once holds slightly less than fresh ground, so if you are re-siting a structure, put the new anchors a few inches away from the old positions rather than into them.
What a damaged panel means for the anchor
Occasionally a panel arrives with a chipped edge or a scuff, usually where the carton took a knock in transit, and the decision to make is not cosmetic.
A chip on an edge that will face a wall is cosmetic and the build continues. A chip on a visible face is a judgement call. But damage around a fitting hole is neither: a fixing hole with a broken edge will not hold, and the fastener that goes through it is frequently the one carrying the anchor bracket or the top rail. Stop, photograph the panel flat before anything is assembled, and take it up with whoever fulfilled the order. Photographs of a flat panel are far more useful than photographs of a half-built case.
The same logic applies to a fitting that will not seat. Forcing a cam screw that is not lining up nearly always means a panel is the wrong way round or is the wrong panel entirely. Check the sheet before reaching for a mallet, because a forced cam in a board panel enlarges its own hole and does not come back.
Why we keep repeating it
None of these three steps photographs well. A bracket behind a bookcase, an auger in the grass and an empty ten feet of paving are the least interesting things in any of these pictures, and a catalogue that left them out would read tidier.
We repeat them because they are the only instructions here that are not about taste. Everything else on this site is a preference: a finish, a seat count, a tier spacing. These three are the difference between furniture that is fine and furniture that is not, and the guidance behind each one is public, dated and listed on how we keep this catalogue current.
There is one more reason to take the ten minutes, and it has nothing to do with safety. A piece that is fixed to the wall stops moving when you lean on it, and a piece that stops moving stops working its own joints loose. The anchor that was fitted for a child is also the reason the case is still square in year five, which is a benefit nobody mentions because it is invisible while it is working.
One last thing worth saying plainly, because it is the objection people raise: none of this makes furniture feel less like furniture. A bracket behind a case is invisible the moment the case is loaded, and an anchored carport is indistinguishable from an unanchored one until the afternoon it matters. You are not trading away anything you can see.
The measuring half of the job is in the measuring notes, and what the weather does over a year is in the first season notes.
Anything here that stands on the floor with drawers, doors or shelves belongs anchored to the wall. The consumer safety commission launched its anchoring campaign in 2015 and reported ten years later that tip-over injuries and deaths had fallen by nearly half; the instruction behind that number is the one sentence above. An anchoring kit ships in the carton, the job takes about ten minutes with a drill and a stud finder, and it is the last step of the build rather than an optional extra. The source and the day we read it are on our updates page.